I had initially wanted to replace the plastic handrails inlcuded in the kit but after rummaging thru my stuff, I realized I didn't have wire of similar thickness. Wanting to finish off this tank fast, I decided to use the plastic ones nevertheless.
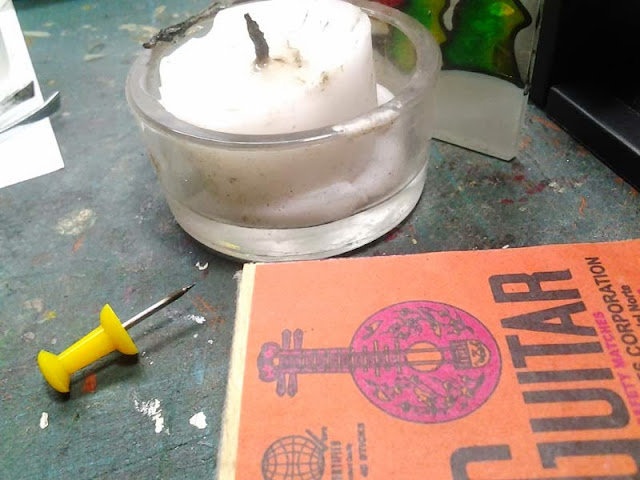
Some of the attachment points called for drilling holes. My smallest drill bit though was still a tad too thick and I was worried that some of the detail might get ruined by the drill. I opted to use a thumbtack heated with a candle to punch little holes on the hull. The next hurdle was attaching the tiny handrails. Even with my smallest and finest tweezers, I had a heck of a time putting them in place as well as aligning them properly.
I also had to use a magnifying glass with higher magnification than the one I regularly use on the workbench. Suffice it to say, I really, really disliked the handrails! Another problem I had with them was the way they were position on the sprue. Instead of having the part attach to the sprue on one end of the rail, Trumpeter had the it attached from the center. Even with my sharpest blade, I couldn't get a nice, clean cut. Having to sand the lump of plastic in the middle of the rail was a bummer and cost me a lot of time.
One weird note though. Trumpeter had some handrails molded on the hull and on the turret already. Since the others were modelled separately, why have some molded on the hull and turret? If I make another one of these kits, I might sand off the molded in ones and replace everything with metal rails.
The turret received some love as well. I blocked off the viewing ports on the side since I read somewhere that these were for periscopes instead of manual viewing. A hole was also drilled into the single periscope. I was tempted to add some welding marks using putty but eventually didn't. I did add some though to a previous, bigger build on the same tank here.
More soon :)


Comments
Post a Comment